

How To Draw A Pumpkin Leaf
Learning how to draw a pumpkin gets easy when you start with a step past step tutorial. Using both orange and yellow crayons volition create an instant 3D look.
How to Draw a Pumpkin
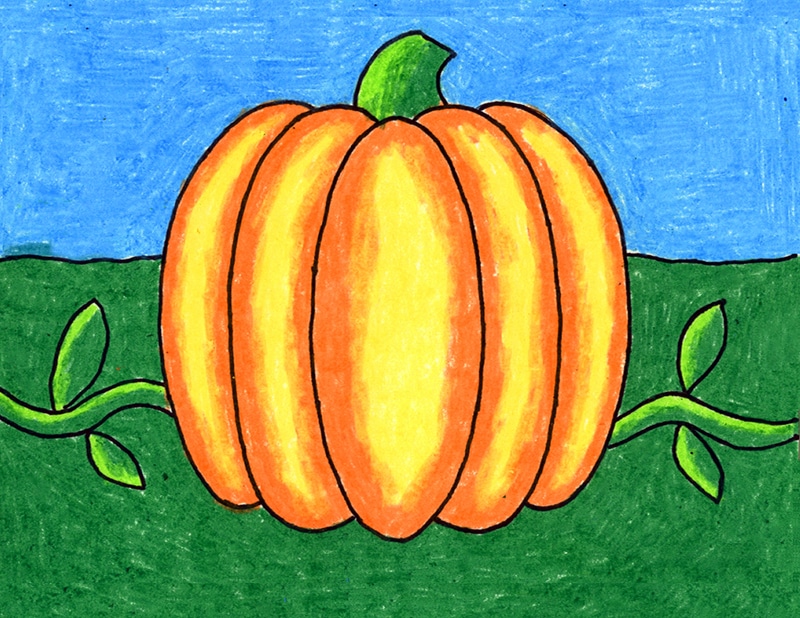
Pumpkins have it all when information technology comes to fun and easy art projects. The ridges of the pumpkin tin can help prove off their dimension so they don't look like flat circles, and the vivid orange colour is then festive to wait at. Learning how to draw a pumpkin with all these features is like shooting fish in a barrel to do when you have it step by step.
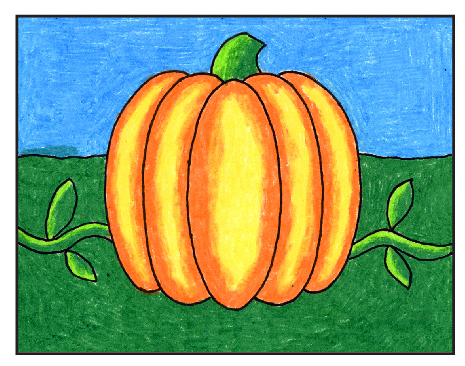
This sample shows that you lot don't demand fancy art supplies when it comes to coloring your pumpkin. I used Prang® crayons, pressed actually hard to get the nigh pigment, and used yellow to get the color of the reflected light. Some crayons seem to blend a petty meliorate than others, and I've found the Prang brand to be practiced for that.
Getting Started with Drawing Guides
Yous may have noticed that all of the tutorials on this site have a dashed line running through the middle of each step, both in the horizontal and vertical direction. If students make theirown centered lines on theirain newspaper, before drawing, they will have an like shooting fish in a barrel reference to follow.
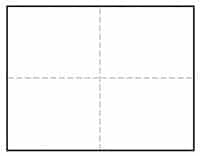
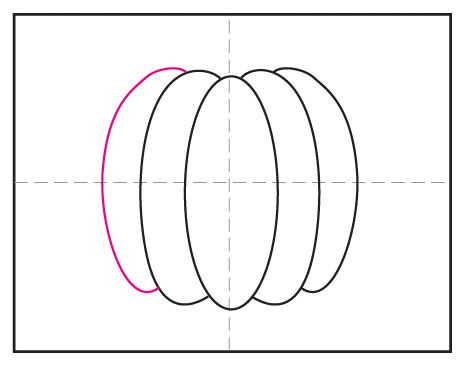
For instance, as seen in Step 1 below, the first oval for the pumpkin needs to centered on both the vertical and horizontal lines. It's important to depict that shape big and in the middle so that the pumpkin tin can fill up the paper.
When students get their drawing off to a good start, there's a better chance of them feeling successful past the fourth dimension they are done. Drawing skills are all about getting the size and placement of lines on paper, so having some visual reference point to get started, will ever help anyone learn how to be a little more accurate.
So does that hateful students demand to get out a ruler to draw a big fatty line down the eye of their paper earlier they commencement? Goodness no, please don't! That will virtually probable be hard to erase and distract from any finished fine art. No, but fold the canvass of paper in half both ways, make a pucker, and unfold. The beauty is that by the time the drawing is washed and colored in, the creases will disappear.
And now, on to the pumpkin cartoon project.
Pivot me to Your Pinterest Board!

Bring together my Email Listing below to get this Pumpkin Tutorial
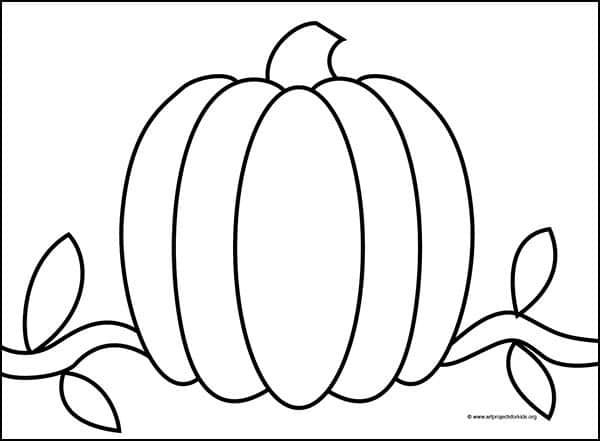
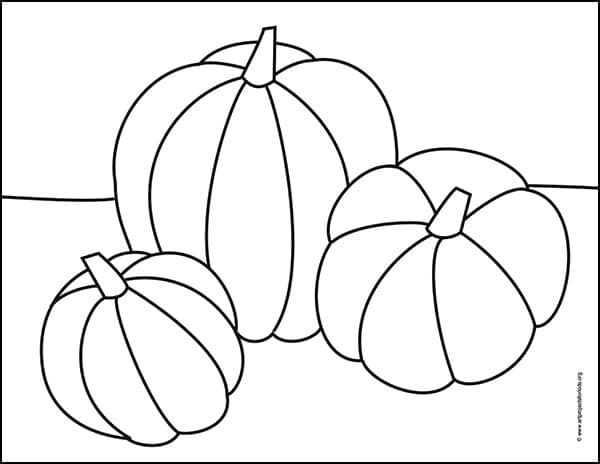
Pumpkin Coloring Page
Materials for How to Draw a Pumpkin
- Eraser. Large ones you tin can hold in your hand do a much improve job than just the pencil tips.

- Black Sharpie Marker. These fine point permanent marker pens make nice black outlines, have a practiced tip for coloring, and never bleed when they get wet. Use them with good ventilation and add extra paper underneath to protect your tables.
- Prang Crayons. These are a bit softer than other crayons so they sometimes expect like oil pastels. They too accept a some prissy dark-brown shades that Crayola does not have unless you buy their larger boxes.
- Crayola Crayons. The reliable brand that always works well. The 24 pack has some of my favorite golden orangish and yellow colors that seem a bit richer and warmer than the ones Prang has.
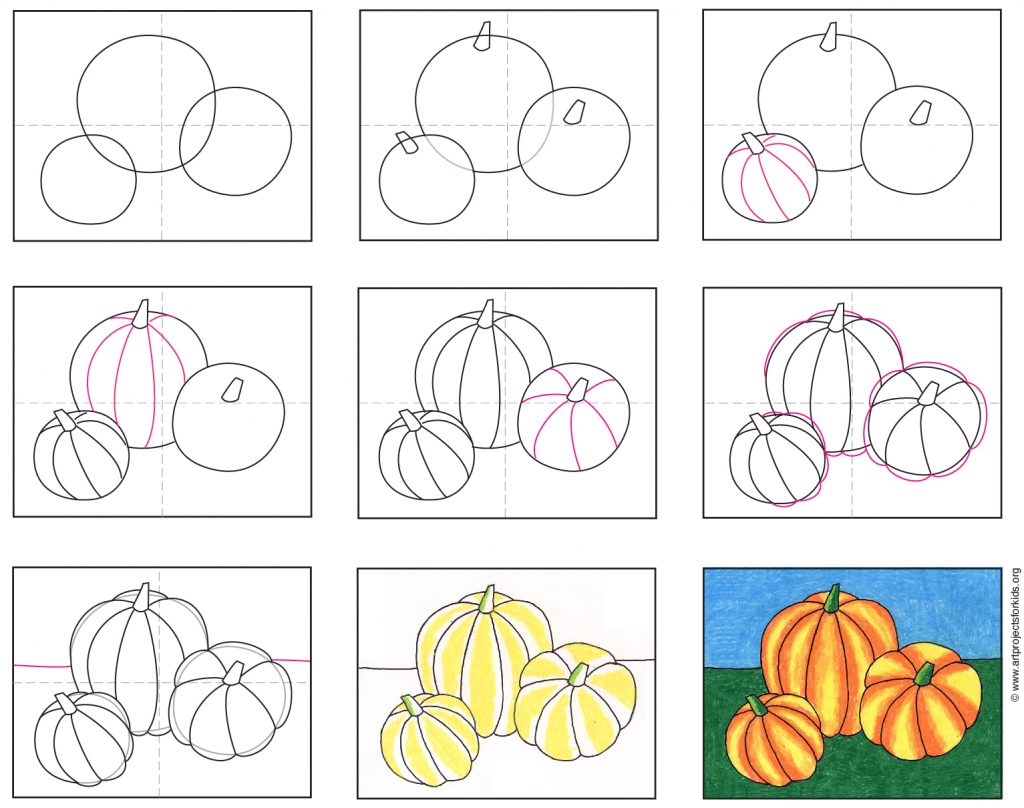
Directions for How to Draw a Step by Step Pumpkin
Fourth dimension needed:45 minutes.
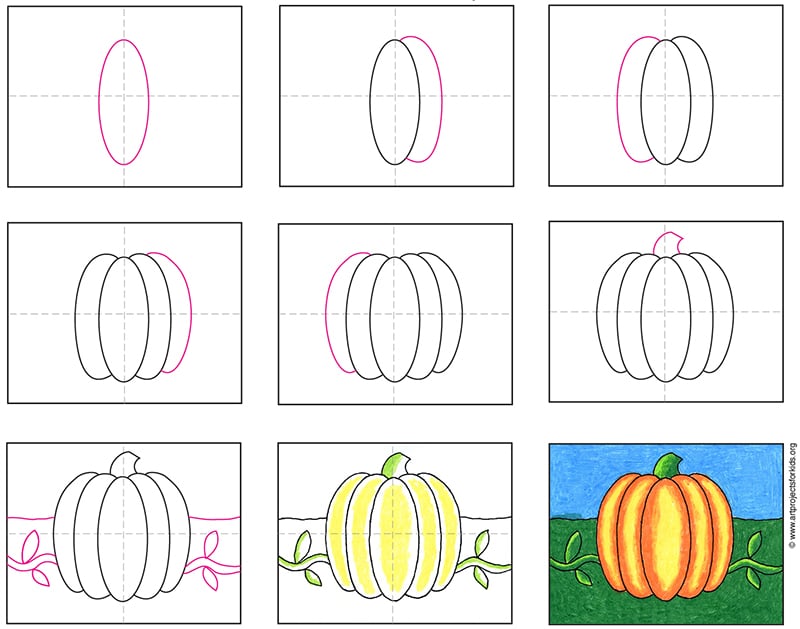
Draw a Pumpkin in nine Easy Steps
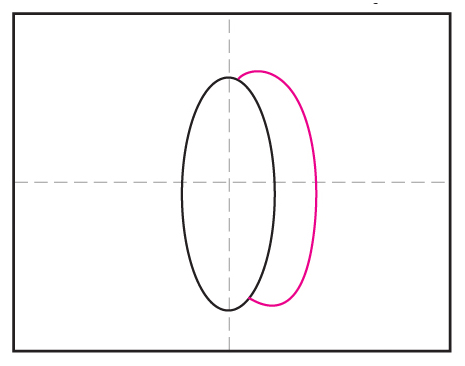
- Draw a center oval.

- Add together a curved shape on the right.
- Describe a curved shape on the left.

- Add a curved shape on the correct.
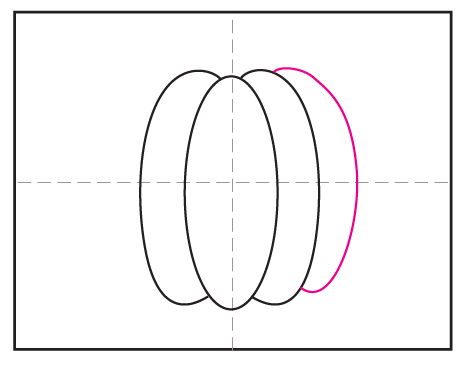
- Draw a curved shape on the left.
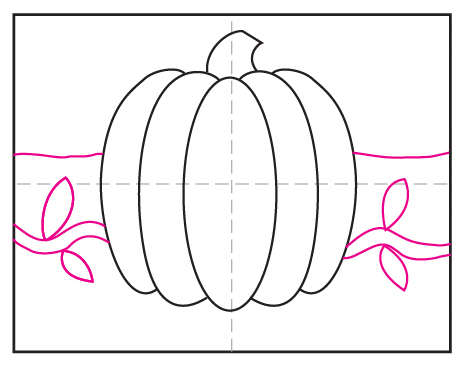
- Identify a stem on the top.

- Depict a vine with leaves and a horizon line.
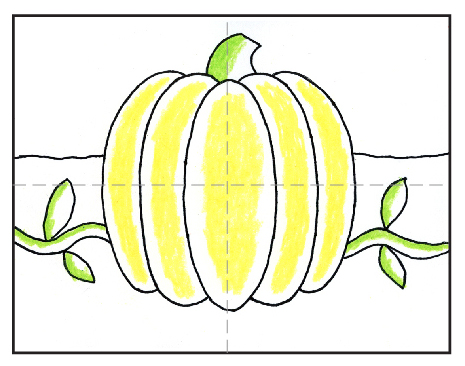
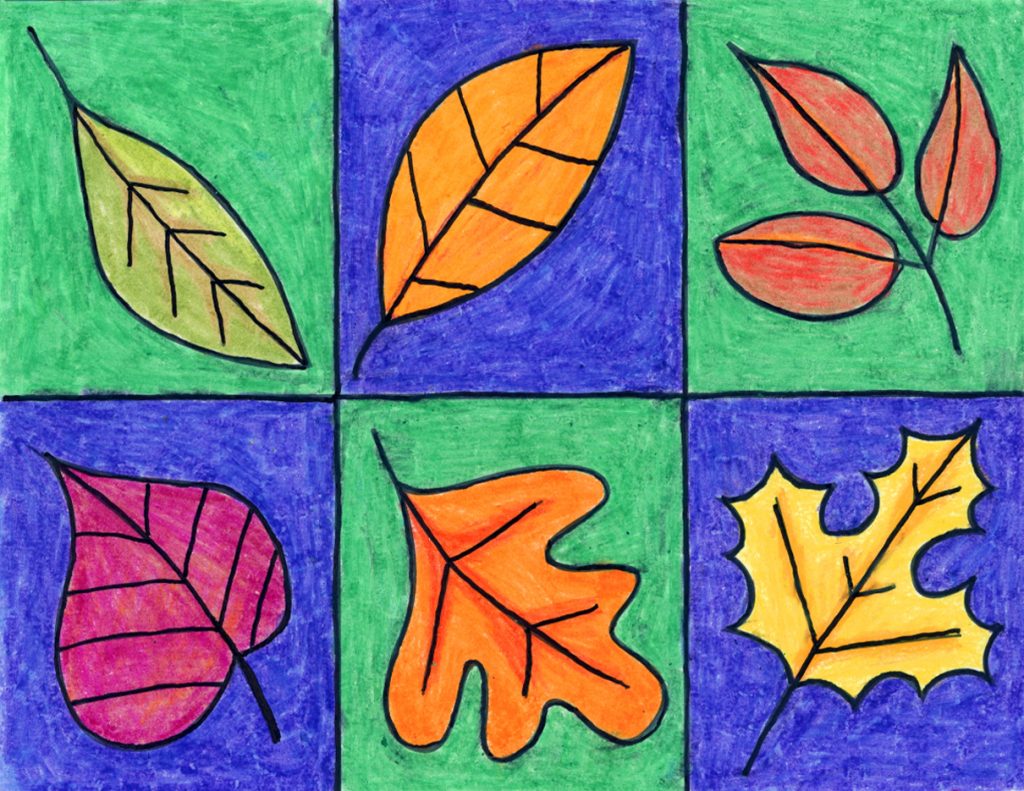
- Trace with a mark or pen. Colour with yellow and low-cal light-green crayons.
- Fill in with orangish, dark greenish and a sky color.
How to Draw Iii Pumpkins
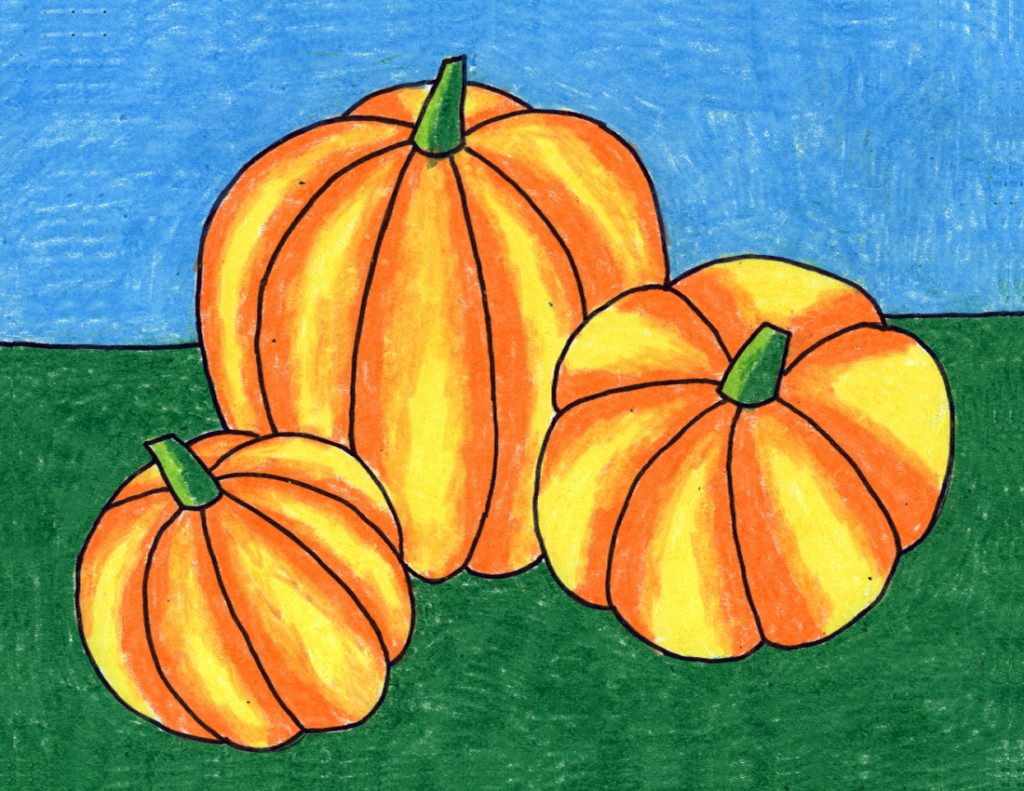
If y'all'd like to learn how to draw pumpkins that await more dimensional, and then this lesson a large and medium and small-scale, all leaning in diverse directions, is a great place to commencement.
This tutorial will show students how to draw the pumpkin circles and radiating lines coming from the stem, but then add footling "bumps" to each department to make them stand out some more.
The not bad news is that those that observe the bumpy step tricky, tin merely skip it and go to the tracing and colour. The radiating lines solitary create most of the dimensional look all by themselves.
Utilise the Push beneath to Download a Pumpkins Tutorial
Pumpkins Coloring Folio
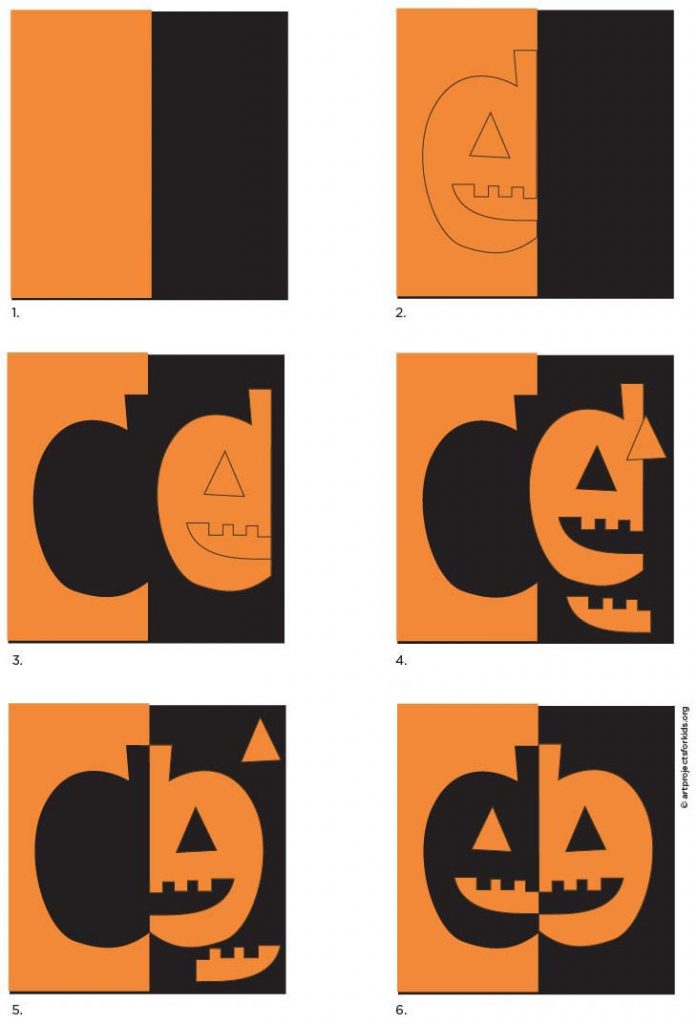
Positive / Negative Pumpkin
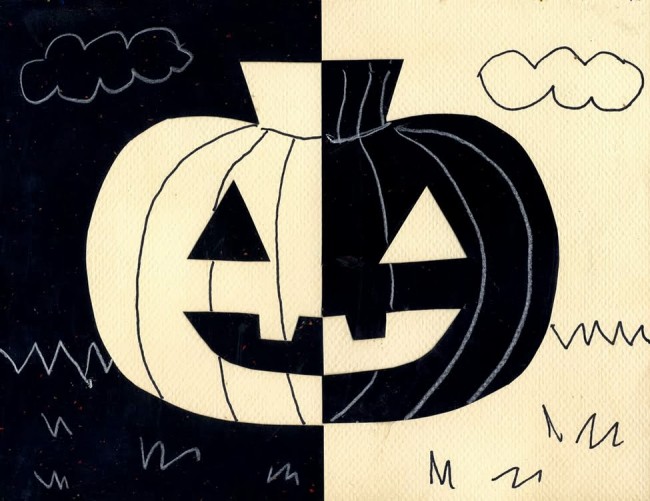
Collage art projects can teach valuable lessons nearly positive and negative shapes and still make some very cool Halloween art.

This positive / negative pumpkin projection requires students to flip and mucilage down their cut out shapes to mirror the other side. You can't get more than literal than that as a definition of symmetry.
Important TIP: The pumpkin rima oris, eye and mouth shapes need to be cutting out every bit ONE slice, as they are going to be used for the other side. Cut things out in small pieces will create a puzzle that tin maybe be put back together in a compression, but can be a hurting.
Note: The best way to cut out the eye is to just make a slit from the side and then cutting out the triangle. When the newspaper is glued downward, the slit will barely show.
Use the Push below to Download a PDF Tutorial
Materials for a Positive / Negative Pumpkin
- Blackness card stock or construction paper
- Orange bill of fare stock or structure paper, cut to five.5″ x 8.5″ panels
- Scissors
- Glue stick
- Black marker (for variation project)
- Silverish metallic marker (for variation projection)
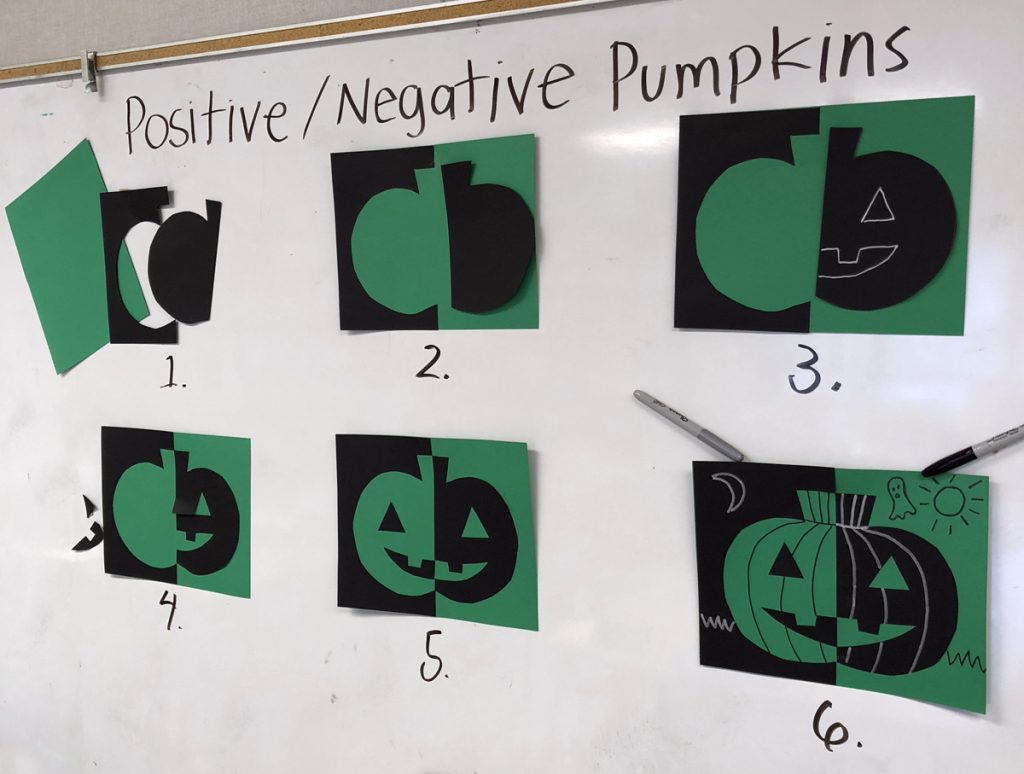
Tips for your Positive / Negative Pumpkin Projection
The steps to making this pumpkin are pretty basic, merely itreally helps to try to explicate it in articulate, basic steps. You can see how I diagrammed all the steps on my front board in a photo beneath.
1 cool tip to share is that there will exist no waste when they are done.Everything that is going to be cut out is going to exist used!
Paper Variations
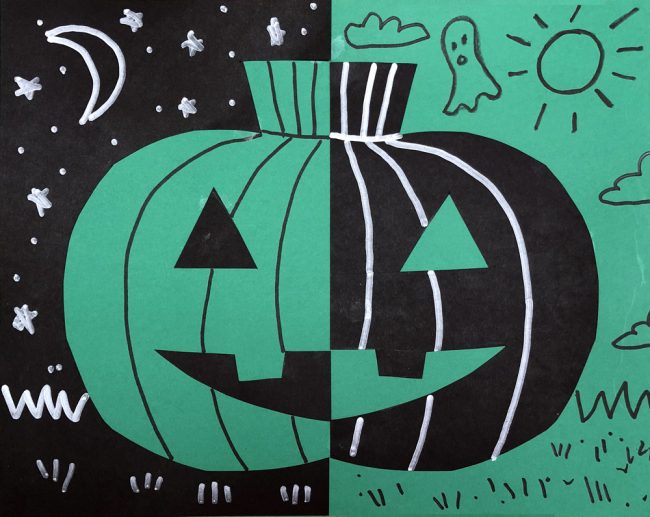
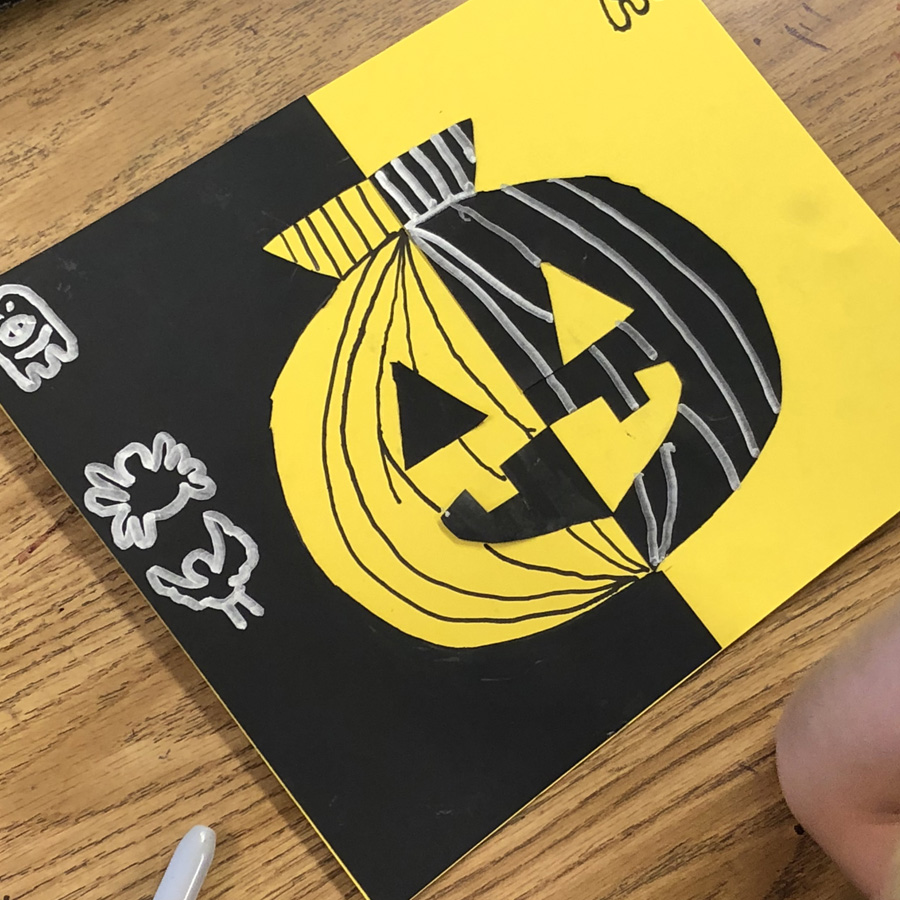
If your older students can do the initial cutting and gluing without a lot of struggle, effort standing the positive / negative theme a flake further and have them add together details on either side with black mark, and a silver metallic marking(which volition look pretty white without the expense of a white paint marker.)
Pivot Me to Your Pinterest Lath

More than Fall Drawing Projects

Source: https://artprojectsforkids.org/how-to-draw-a-pumpkin-3-5/
Posted by: wilkeswhoundle.blogspot.com
0 Response to "How To Draw A Pumpkin Leaf"
Post a Comment